 |
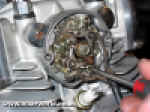
17. On the other side of the head I can now re-fit the points backplate. Before removing it I took the precaution of scribing a reference mark on the housing face. Now I can simply line up my reference marks and clamp up the screws. I'll be checking the ignition timing with a strobe once the engine is running to make sure it's spot on. |
| |
|
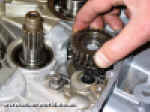 |
18. Now for the clutch and primary drive. I've opted to start by sliding the starter bendix assembly onto its shaft. The whole starter clutch mechanism is unusual on the XS650, the starter motor drives a set of reduction gears on the left side just beneath the gearbox sprocket. Drive is then transferred to this bendix assembly via a crossover shaft. A rather convoluted system which suggests that the electric starter was adapted to fit an engine originally designed for a kickstarter only. |
| |
|
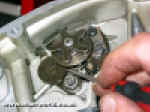 |
19. Next I'm refitting the detent roller to the end of the gear selector drum. This clicks the selectors into their correct position when changing gear. Make sure the return spring is in good condition and correctly engaged. |
| |
|
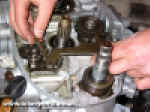 |
20. The gear selector shaft can now be fitted. The shaft slides right though the crankcase, the selector claw engaging with the pins on the end of the selector drum. I've taken the precaution of fitting a new gear shaft oil seal into the left side of the crankcase first. |
| |
|
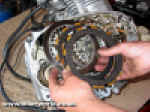 |
21. With the gear selectors in place the clutch can be rebuilt onto the input shaft. A washer and spacer slides onto the shaft first, followed by the clutch basket and inner drum. I've used a new locktab on the clutch centre nut to make sure it can't loosen off later. Before the clutch plates go back in I've done a quick check for worn or buckled plates. Then with the clutch pressure plate fitted the primary drive and oil pump drive gears can be re-fitted to the crankshaft. |
| |
|
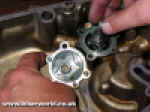 |
22. The oil pump assembles into the inside of the outer clutch casing. I'm taking the precaution of priming the pump with lots of fresh engine oil to give the lubrication system a hand when the engine is started for the first time. |
| |
|
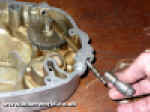 |
23. After refitting the oil pump drive gear the tacho drive shaft slides downwards into the clutch casing to engage with its worm drive. The tacho drive boss, with a new oil seal fitted, slides over the shaft and into place in the casing, and is then secured with its lock screw. |
| |
|
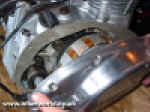 |
24. After greasing and fitting a new gasket the clutch case then goes back on the right hand side of the motor. |
| |
|
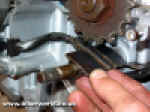 |
25. Finally, before re-fitting the engine in the frame, this rubber faced guide plate clamps in place around the gearchange shaft. This not only protects the shaft itself, it also stops the drive chain cutting into the alternator wiring. The rubber facing on this guide plate is quite heavily worn but is still serviceable. |
| |
|
With the engine re-built we're now ready to fit the engine back in to the frame. However Lorenzo, the bikes owner, has been so pleased with the condition of his engine the he's now considering a full restoration to take the bike back to its former glory. The next step is to get the frame powder coated, then we'll be looking at some re-chroming and new paint as funds become available. I've a feeling this could turn into an extended project, so I'll keep you posted on developments as work proceeds. In the meantime the engine will be kept safe, dry and warm in Lorenzo's living room.
Thanks to Granby Motors of Ilkeston (tel 0115 944 1346) for their help with gaskets and spare parts for the re-build. |
Dr.Rod |


![]()